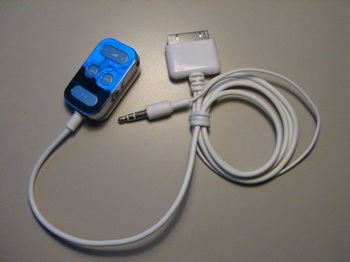
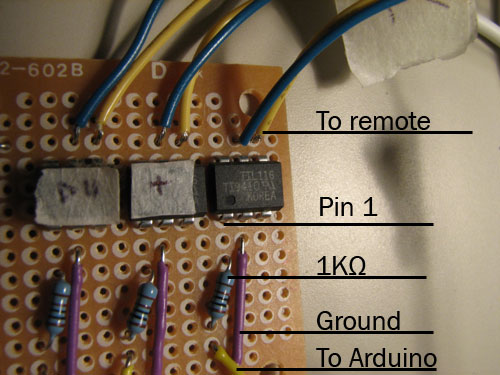
We used a TIL116 opto-isolator between the Arduino and the remote to safely send signals in between the two. The remote works by you pushing a button which closes a circuit and that is interpreted in a certain way by the iPod. What you need to do is to send a pulse to the opto-isolator that makes it close the button-circuit, and then open it again. Depending on what you want the iPod to do, you need to send a longer or shorter pulse, i.e.. a long pulse sent to the play/pause button will shut the iPod off, a short pulse will play/pause the track.


Arduino code
/* Control an iPod remote
* -------------
*
*Program to control an iPod remote through an TIL116 opto-isolator.
*The iPod is controlled by sending short pulses to the remote to activate the
*play/pause button or whichever button you may need.
*
*
* (cleft)2006 Jonas Olson & Robert White for Simon Fraser University
* http://www.JonasOlson.se | Http://www.sfu.ca/~rwhite/
*
* @author: Jonas Olson & Robert White
* @date: Dec. 3rd 2006
*
*/
void setup()
{
pinMode(10, OUTPUT); //play/pause pin
pinMode(11, OUTPUT); //increase volume pin
pinMode(12, OUTPUT); //decrease volume pin
}
void loop()
{
digitalWrite(10, HIGH); //play/pause the music
delay(100);
digitalWrite(10, LOW);
digitalWrite(11, HIGH); //increase volume for 3 seconds
delay(3000);
digitalWrite(11, LOW);
digitalWrite(12, HIGH); //decrease volume for 3 seconds
delay(3000);
digitalWrite(12, LOW);
}